Scones! A Glorious Way to Start the Day
My love affair with scones began at the state fair. I don’t think I ever missed the fair and loved the years I got to go more than once. “Fair scones” served with jam, and riding the old, rickety roller coaster were my two favorite things about the fair.
Packaged “fair” scone mix can be found in many grocery stores. I’ve made them a few times, but they were never as good as the ones at the fair. I’ve also eaten my share of dry, tasteless and mediocre (okay, bad) scones at various bakeries and coffee stands. So I guess I got it in my mind that, unless you knew what you were doing, it wasn’t easy to make good scones unless you worked at the fair in the scone booth and wore one of those crisp, white dresses. I found the whole concept of homemade scones intimidating and out of my realm of possibility. That is until this recipe came into my life and changed my mind. Thank you My Baking Addiction for the great recipe.
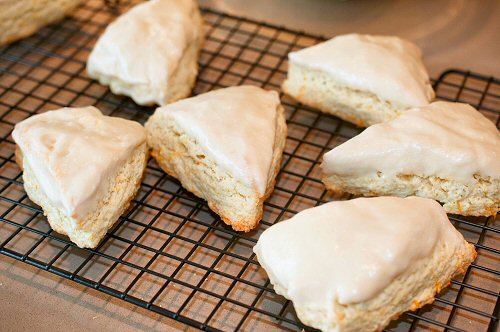
The original recipe was for orange scones. I made them, according to the recipe, and they were delicious. I was practically giddy about how my scones turned out. I wanted to make them again to ensure that successfully making great scones at home wasn’t just a one-time fluke. I had used my last 2 oranges when I made the scones the first time but I had 2 lemons. So, I decided to try the recipe substituting lemons for the oranges. Again, yum-ME!
These scones have a perfect texture and flavor. Jon says he thinks it’s the best scone he’s ever eaten. Just a bit of a warning, though. If you’re skittish about using your hands when preparing food, this may not be the recipe for you. This is a roll-up-your-sleeves and get-into-the-dough kind of recipe. But it’s well worth it.
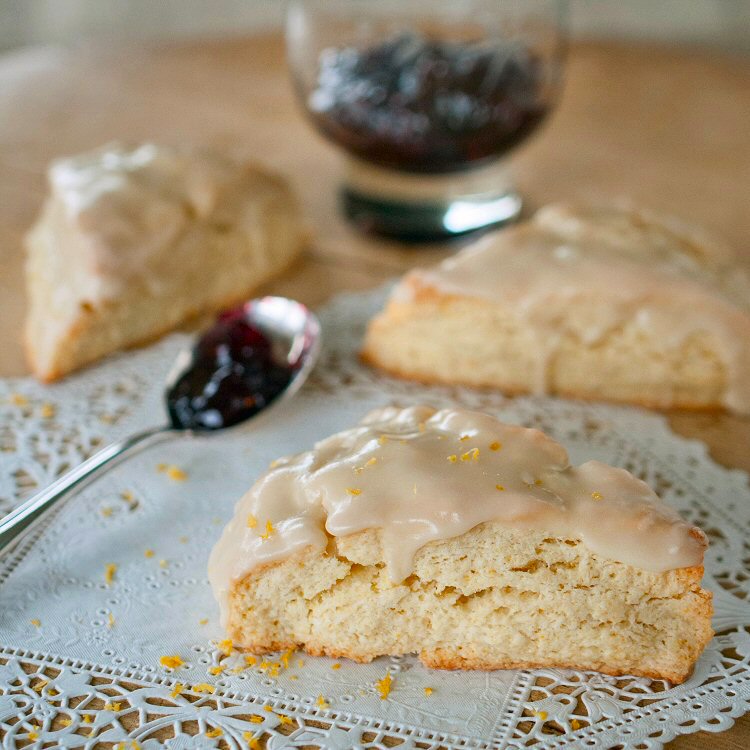
Serve these for brunch with some raspberry jam. And don’t expect to have any leftovers.
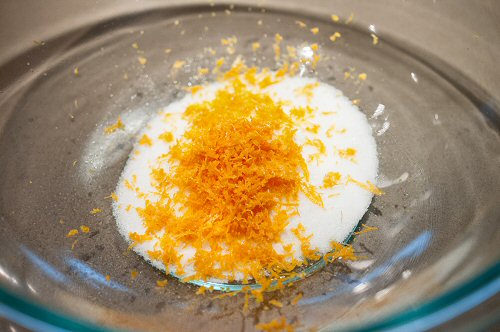
Grate the zest onto the sugar
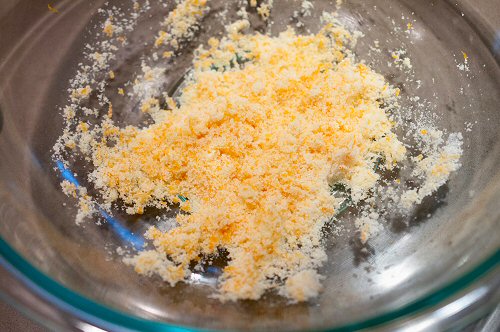
Mix the zest and sugar
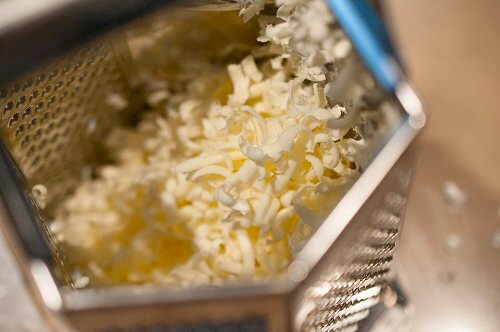
Grate the butter
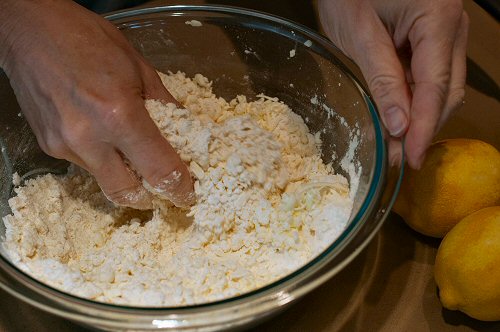
Gently mix in the butter
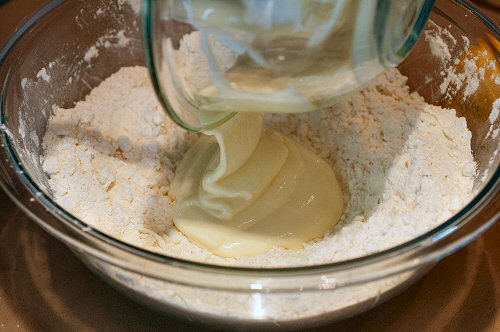
Add the wet mixture
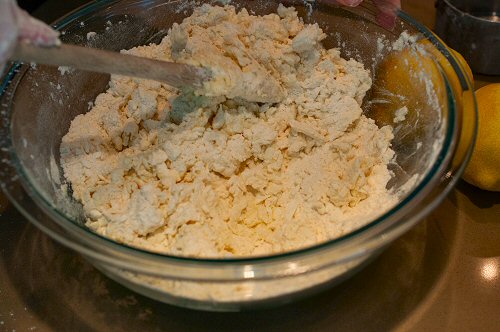
Mix until clumpy
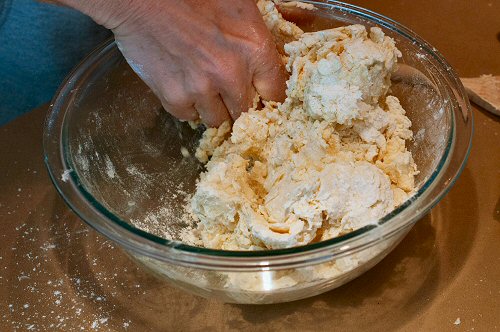
Gently work the dough…
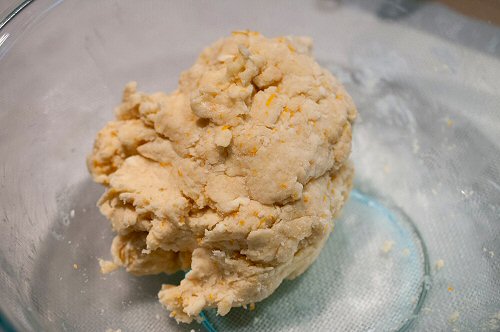
…until it holds together
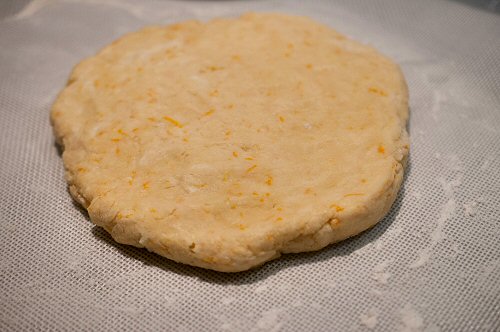
Shape it
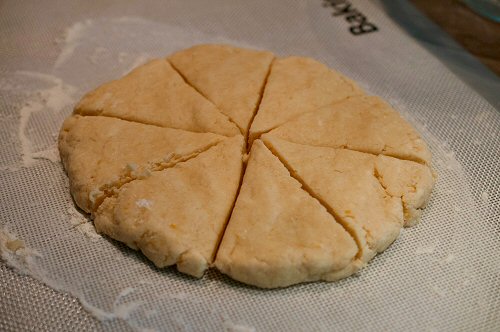
Cut it
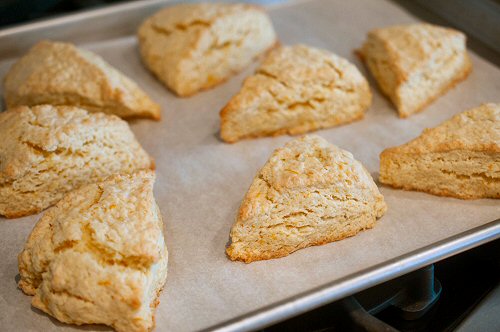
Bake until edges are golden brown
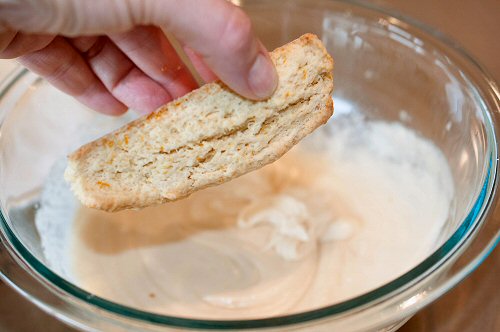
Glaze by dipping
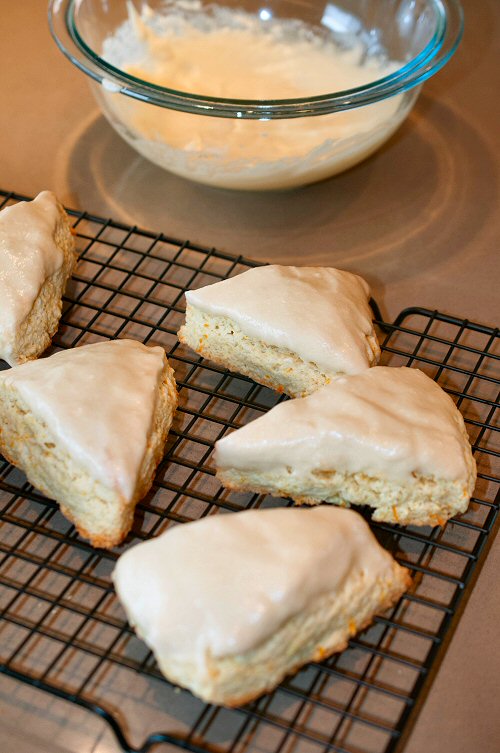
Let the glaze set
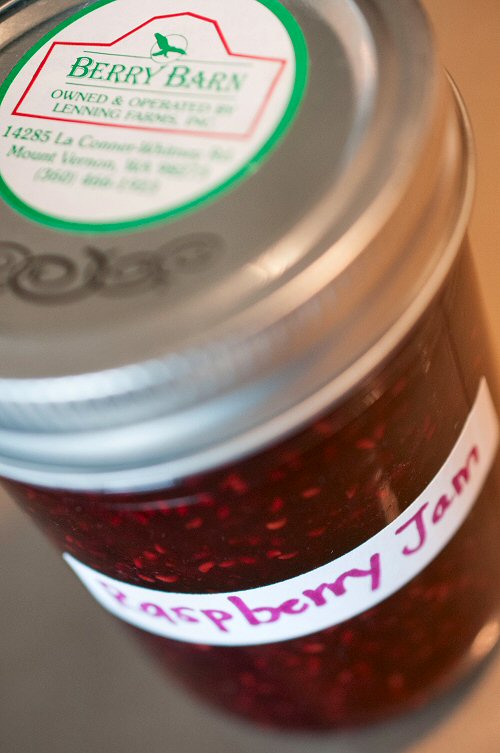
Serve with raspberry jam
A few tips for making these scones:
- You want your cold ingredients cold when you start and to stay cold throughout the process. The frozen butter worked great even if it is a little challenging to grate. I used a box grater (because that’s what the recipe said to do and that’s what I had), but I’m going to purchase a flat grater that I can place over the bowl so I can grate the butter directly onto the flour.
- Because you want your cold ingredients to stay cold, you need to work rather quickly. Don’t start the process and then go do something else. Work the process, start to finish, and don’t dilly dally.
- Don’t over-mix or over-bake.
- The original recipe said to bake the scones about an inch apart. But I’ve read that it’s actually better to bake the scones so they are touching each other. It encourages them to rise rather than spread. I may try that next time.
Happy Entertaining!
Click here to get recipe


